Deploying a Node.js application using the AWS platform is possible. In this blog post, we will show you how to deploy a Node.js application using Nginx and PM2.
AWS is a cloud computing platform that provides users with powerful tools to build, launch and operate applications. EC2 is a service that allows you to run your own virtual private servers (VPS) in the cloud using AWS.
Nginx is an open source web server based on the HTTP protocol stack with features such as high concurrency, low memory consumption and multi-threading support. PM2 is a NodeJS application loader which runs on top of Nginx or Apache HTTP Server and manages process startup & shutdowns for you using libuv or uv_event loop API (if available).
The EC2 instance
The EC2 instance is a remote server that runs applications on your behalf. You can use it to run Node.js applications and other software, as well as other types of workloads that require high compute power, memory and storage.
The EC2 instance is managed by AWS: you don’t have to worry about its configuration or maintenance because it will be running automatically in the cloud by default.
Launch EC2 Instance
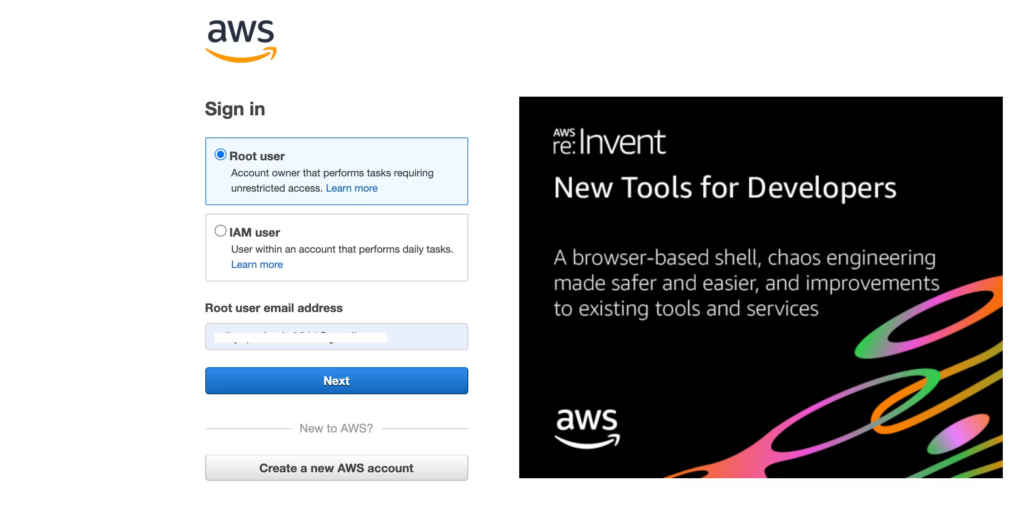
Sign in to your AWS management console
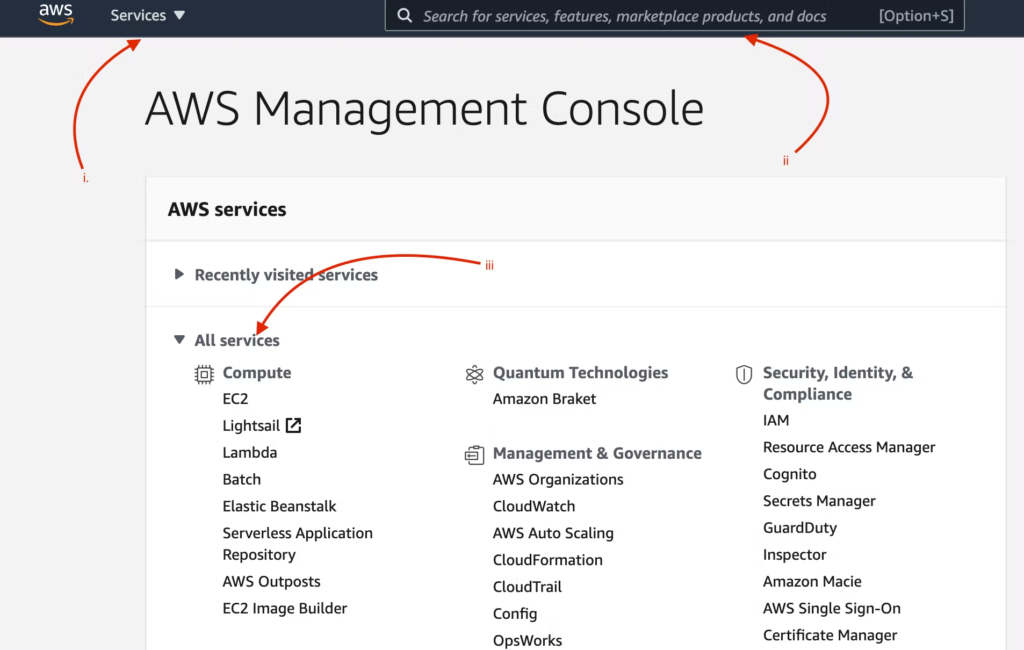
Click on EC2 Service
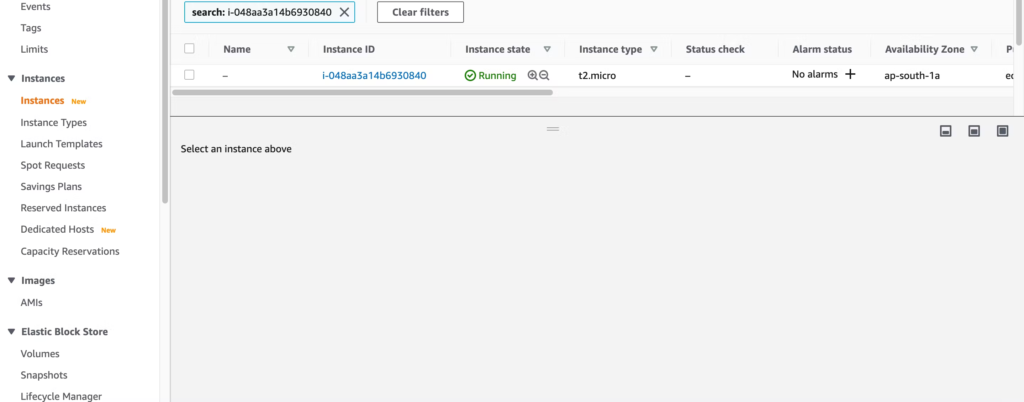
Goto EC2 dashboard and Launch Instance. Once you launch then you have to choose an Amazon Machine Image
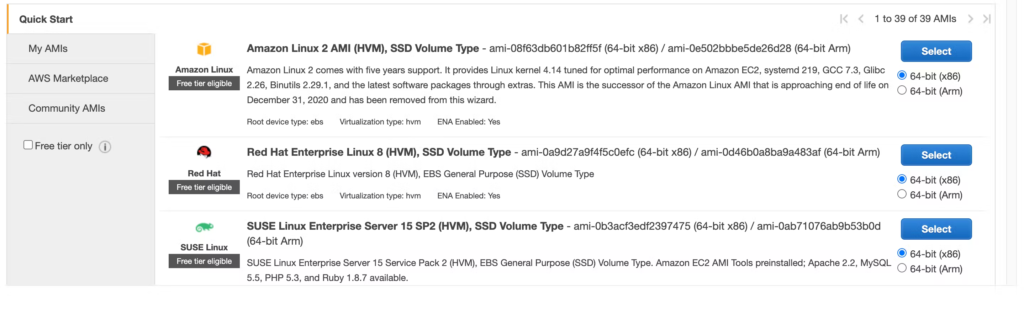
Choose an AMI based on your use case. I used the Amazon Linux 2 AMI because it is eligible for the Free Tier. However, there are many more AMIs to choose from. Now click Next – Select an instance type.
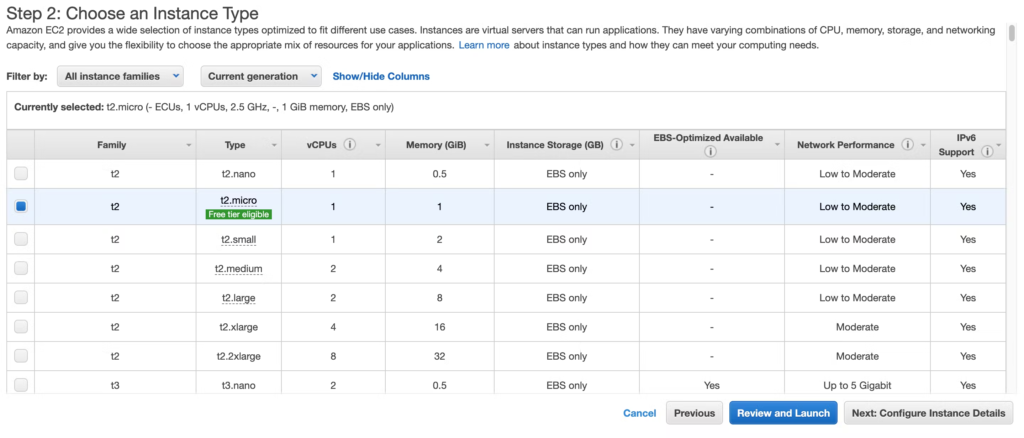
Choose an AMI based on your needs (vCPU, instance store, memory, network performance, etc.). I used t2.micro (it’s a low-cost, general-purpose instance that offers basic CPU performance) because it’s a free tier. You can look at different instance types here. Now click Next: Set up instance details.
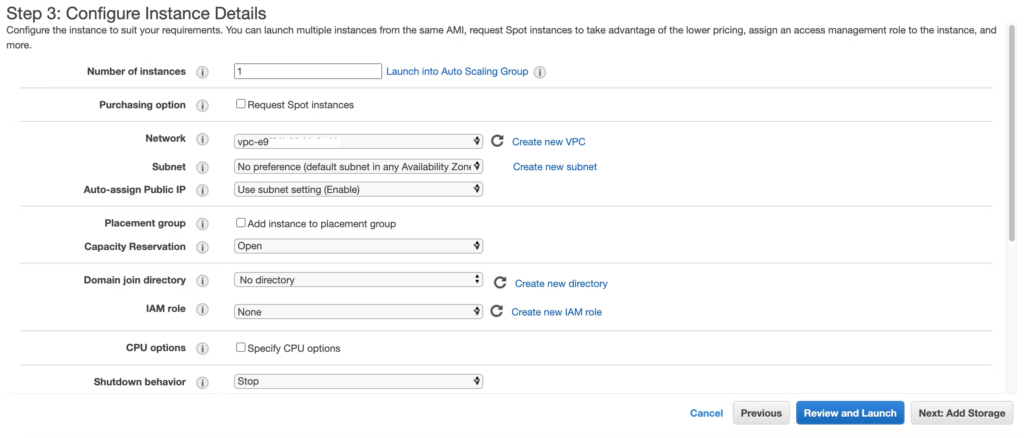
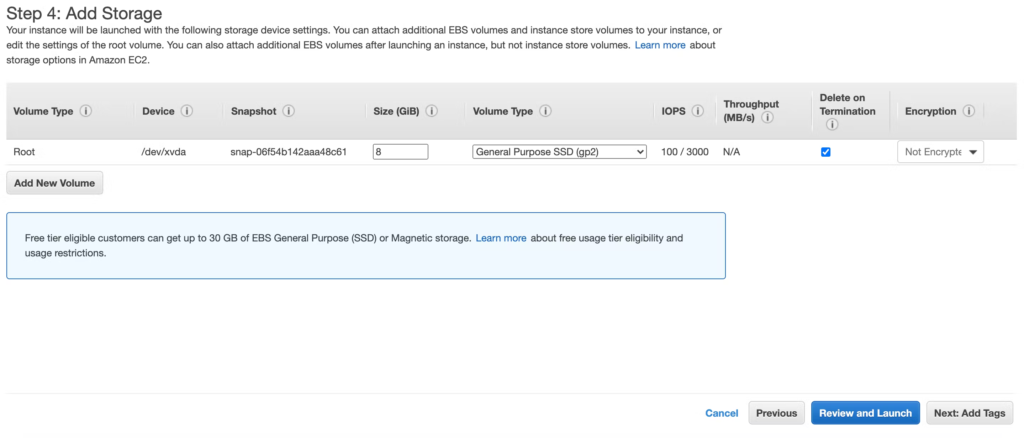
Let’s have a look at some of the important fields here: i) Number of Instances – The number of instances to launch at the same time.ii) Network – We can decide which launched instance will be launched in which VPC.iii ) Subnet : A range of IP addresses in your VPC that can be used to isolate various EC2 resources from each other or from the internet. iv) CPU Options: Here the number of cores and threads per core can be set. Now select Next: Add storage.
Next: Add Tags.
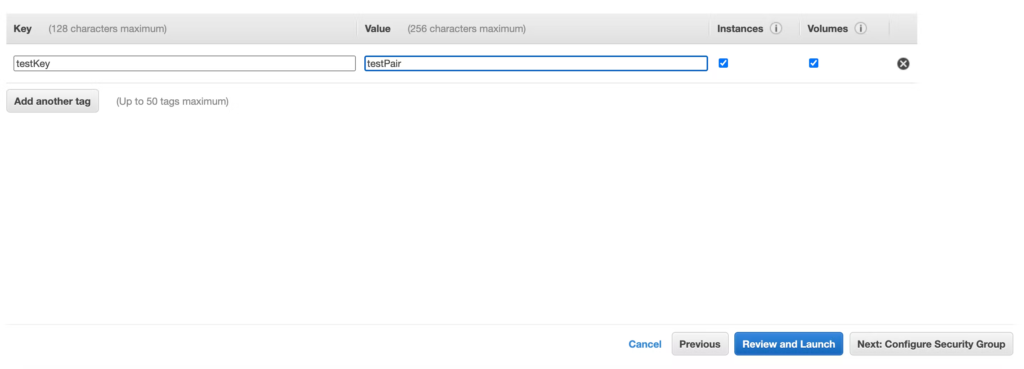
A tag consists of a key-value pair that is case-sensitive. Tags allow you to categorize your AWS resources in different ways. Now select Next: Configure security group.
In this step, we will only configure inbound traffic, which by default has port 22 open, to connect to EC2 via SSH. Outgoing traffic can also be configured after the instance is started, which by default opens to all traffic. Incoming traffic can also be managed after the instance has started. Now select Next: Check and start. During startup, you need to download a key-value pair that will allow you to securely SSH connect to the instance. Now click Start.
Locate your downloaded pem file and connect to EC2 instance via SSH
We will create basic node.js application for your reference.
mkdir test
cd test
npm init
npm install express
touch index.js
vim index.js
--- Goto index.js ---
const express = require('express')
const app = express()
app.get('/', (req, res) => {
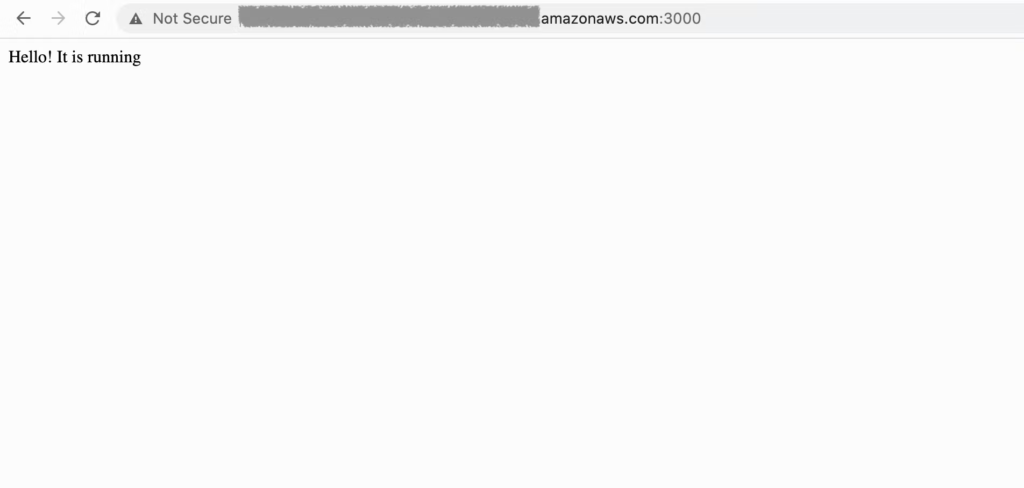
res.send('Hello! It is running')
})
app.listen(3000, () => console.log('Server running on port 3000'))
Now run your node.js test application using following command
node index.js
You will now get see your output at Public IPv4 DNS of the EC2 instance: YOURPUBLICIP:3000
Now this server is setup is temparary. We have to setup NGINX for that and make it server run permanatly using pm2.
Nginx – HTTP server
Nginx is an HTTP server, reverse proxy server and a cache. It can be used to serve static content such as images and JavaScript files, or as an HTTP load balancer.
Install NGINX on Amazon Linux EC2
sudo amazon-linux-extras list | grep nginx
sudo amazon-linux-extras enable nginx1
sudo yum clean metadata
sudo yum -y install nginx
nginx -v #to ensure that nginx is installed
Start the NGINX service
sudo systemctl start nginx
Move to nginx folder
cd /etc/nginx
sudo vim nginx.conf

Modifications in nginx.conf inside services

location / {
                proxy_set_header  X-Real-IP  $remote_addr;
                proxy_set_header  Host       $http_host;
                proxy_pass        http://127.0.0.1:3000;
        }
Restart the NGINX
sudo systemctl restart nginx
Now run the Node.js application again and you will see the application output, this time without the port number.
Important Note: Everything is working fine at the moment. But here we encounter another problem. Once we exit the application/close the terminal, we don’t get any output to the public URL of the EC2 instance. To resolve this we use PM2.
Install PM2
PM2 is a process manager for Node.js applications. It allows you to keep Node.js applications alive forever, or until you decide to kill them.
PM2 is a command line utility that can start and monitor the Node processes in an isolated environment. It’s not only used by devops but also by many other people like myself who need their own process control system without having to use something like Supervisor or Upstart (which I will talk about later).
To deploy your application using PM2, follow these steps:
COPY
npm i -g pm2
pm2 start index.js
pm2 save
Now the app is active even if you stop the app/close the terminal.
We use cookies on our website to give you the most relevant experience by remembering your preferences and repeat visits. By clicking “Accept All”, you consent to the use of ALL the cookies. However, you may visit "Cookie Settings" to provide a controlled consent.
This website uses cookies to improve your experience while you navigate through the website. Out of these, the cookies that are categorized as necessary are stored on your browser as they are essential for the working of basic functionalities of the website. We also use third-party cookies that help us analyze and understand how you use this website. These cookies will be stored in your browser only with your consent. You also have the option to opt-out of these cookies. But opting out of some of these cookies may affect your browsing experience.
Necessary cookies are absolutely essential for the website to function properly. These cookies ensure basic functionalities and security features of the website, anonymously.
Cookie
Duration
Description
cookielawinfo-checkbox-analytics
11 months
This cookie is set by GDPR Cookie Consent plugin. The cookie is used to store the user consent for the cookies in the category "Analytics".
cookielawinfo-checkbox-functional
11 months
The cookie is set by GDPR cookie consent to record the user consent for the cookies in the category "Functional".
cookielawinfo-checkbox-necessary
11 months
This cookie is set by GDPR Cookie Consent plugin. The cookies is used to store the user consent for the cookies in the category "Necessary".
cookielawinfo-checkbox-others
11 months
This cookie is set by GDPR Cookie Consent plugin. The cookie is used to store the user consent for the cookies in the category "Other.
cookielawinfo-checkbox-performance
11 months
This cookie is set by GDPR Cookie Consent plugin. The cookie is used to store the user consent for the cookies in the category "Performance".
viewed_cookie_policy
11 months
The cookie is set by the GDPR Cookie Consent plugin and is used to store whether or not user has consented to the use of cookies. It does not store any personal data.
Functional cookies help to perform certain functionalities like sharing the content of the website on social media platforms, collect feedbacks, and other third-party features.
Performance cookies are used to understand and analyze the key performance indexes of the website which helps in delivering a better user experience for the visitors.
Analytical cookies are used to understand how visitors interact with the website. These cookies help provide information on metrics the number of visitors, bounce rate, traffic source, etc.
Advertisement cookies are used to provide visitors with relevant ads and marketing campaigns. These cookies track visitors across websites and collect information to provide customized ads.